5.4 Activating cards
You can configure MyID to issue cards, but render them locked and unable to be used until the cardholder has gone through an activation process. This process allows the cardholder to enter a PIN for their card and to activate it, ready for use.
You can configure MyID to allow cardholders to activate their cards themselves (using MyID Desktop, the Self-Service App, or the Self-Service Kiosk) or to be guided through the process by an operator using the Assisted Activation workflow.
For information on setting up card activation, see the Activating cards section in the Administration Guide.
5.4.1 Activate card
When a card has been issued, encoded and distributed to an applicant, the applicant can activate the card using MyID.
- Insert a card that has been issued.
- Click Smart Card Logon.
-
Select the smart card, if there is more than one inserted into your card readers.
The details of the activation process depend on how the credential profile is set up. See the Setting up authentication methods for activation section in the Administration Guide for details.
-
If the credential profile is set up to require an authentication code, type it in the Authentication Code box.

You will have been sent an email containing the authentication code. If you make several invalid attempts to enter the code (as determined by the Maximum Allowed OTP Failures configuration option), the activation code is canceled, and you must ask an administrator to generate another code.
As soon as the authentication code has been accepted, you cannot use it again, even if you quit the workflow without completing it. You must request another code from an administrator.
-
If you are required to carry out biometric authentication, provide a biometric sample.

-
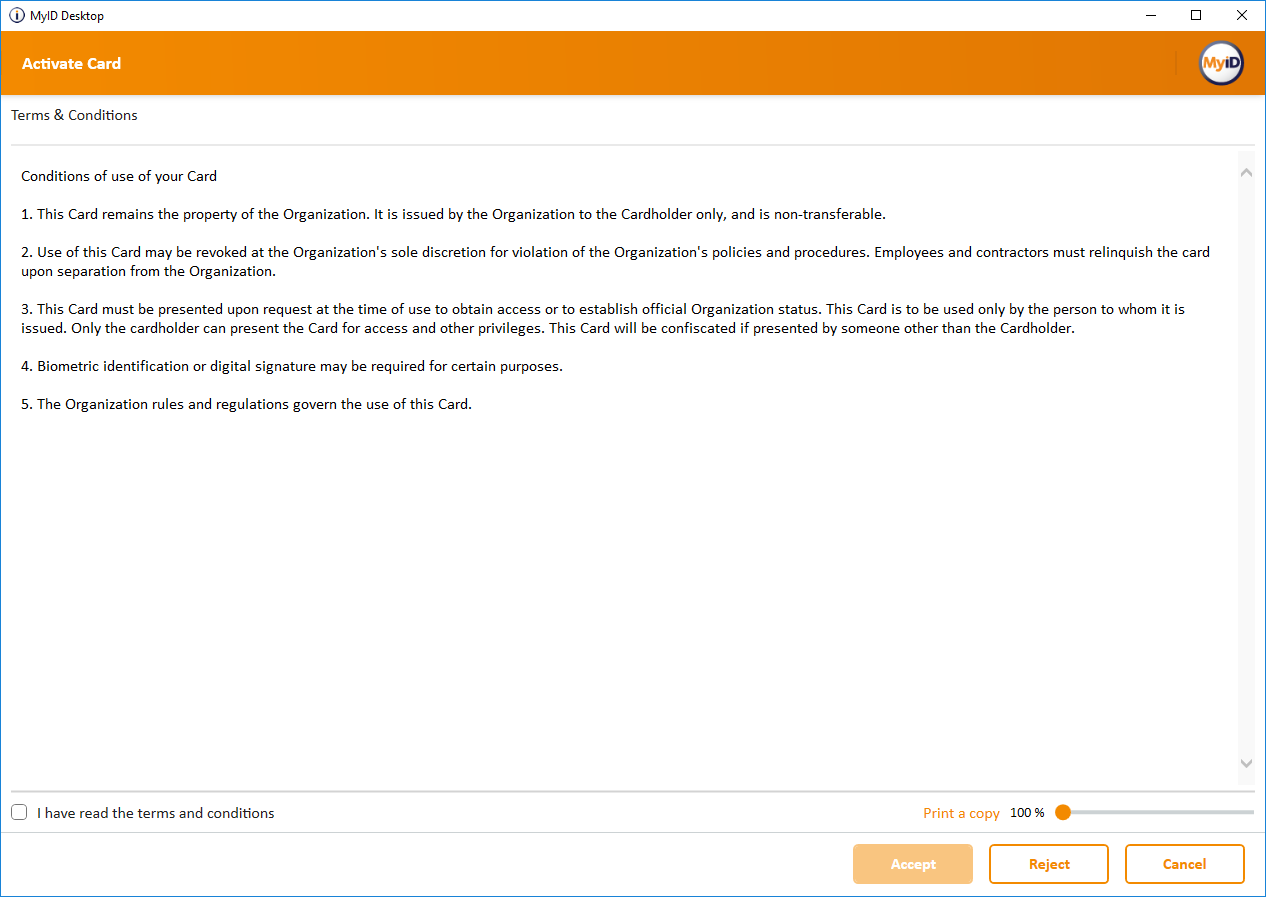
If you are required to accept a set of terms and conditions, read the terms and conditions, then click Accept.
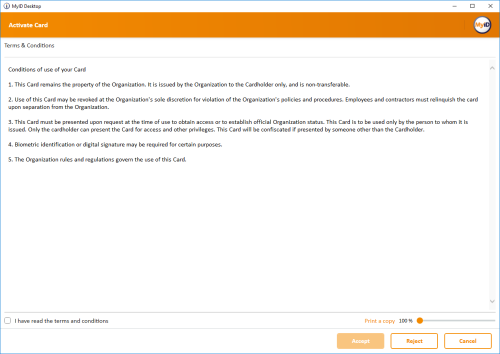
If you decline the terms and conditions, your authentication code (if you have one) cannot be used again, so you must request another code from an administrator.
Note: You can amend the terms and conditions that users agree to when they activate their cards. See the Customizing terms and conditions section in the Administration Guide for details.
-
-
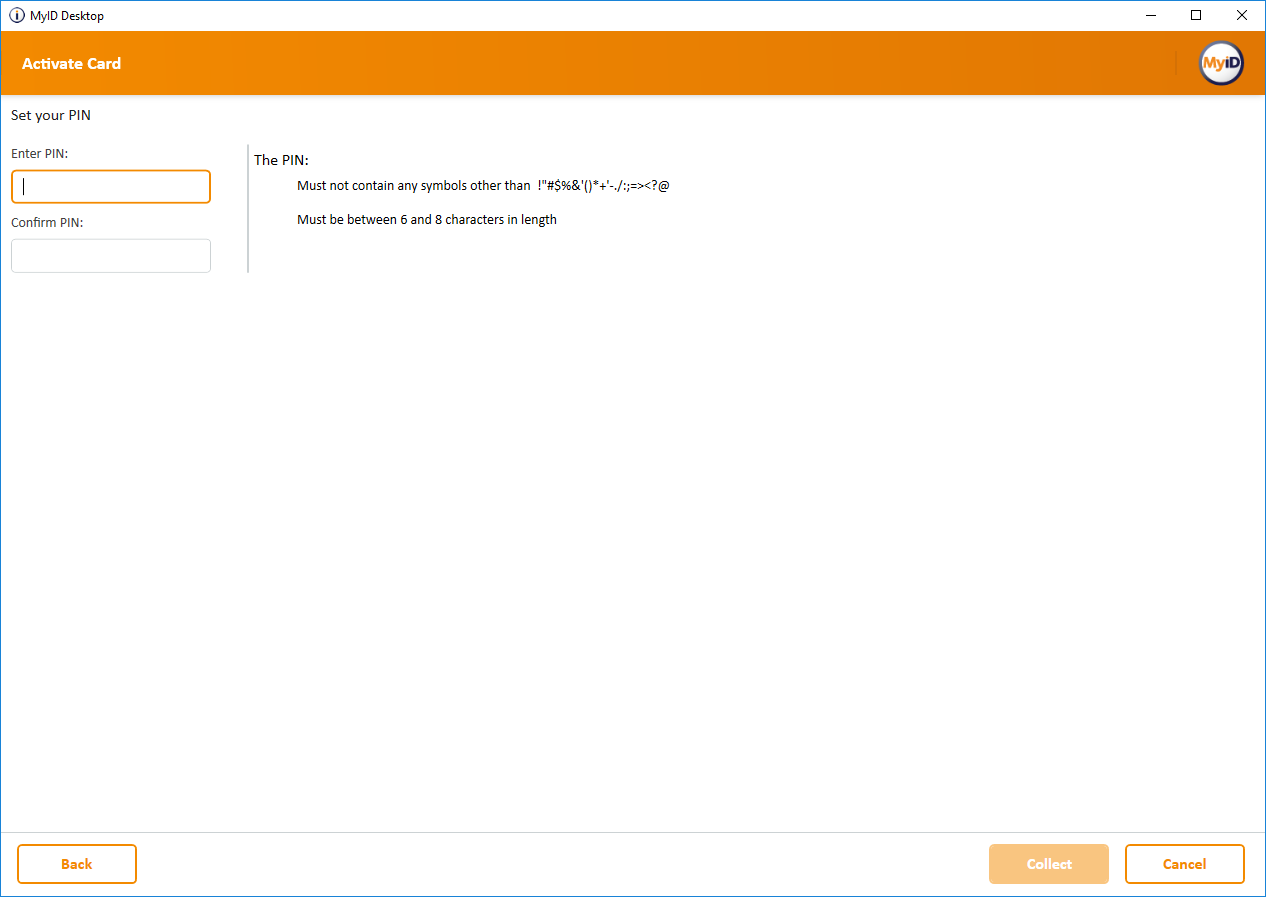
Enter your PIN, then click Continue.
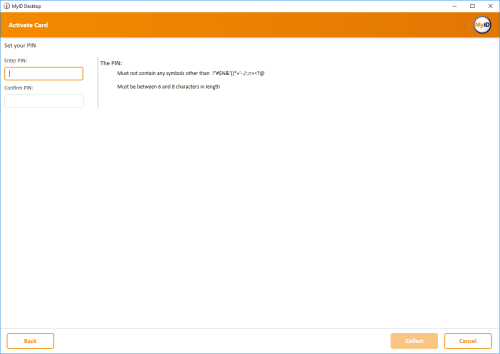
Your acceptance of the terms and conditions is digitally signed and audited.
- Remove your card and click Finish.


5.4.2 Assisted activation
If you have set the Require Activation option in the credential profile to Assisted Activation only, the applicant must go to the trusted agent with the card to be activated. The trusted agent can then use the Assisted Activation workflow to activate the card for the applicant.
Note: The trusted agent must have access to the Assisted Activation workflow. Use the Edit Roles workflow to add the workflow to the required roles.
To perform an assisted activation:
- From the Cards category, select Assisted Activation.
-
Insert the card to be activated into a card reader.
MyID checks that the card is ready to be activated.
-
Complete the identity checks that authenticate the user.
The cardholder may be asked to provide biometric authentication or a one-time authentication code.
If the system is set up for biometric authentication, you may be able to select the Operator Bypass button and then provide alternative details of the user's authentication; for example, by reviewing their identity documents.
You may have more than one operator authentication tab available; you do not need to complete more than one tab.
See the Setting up authentication methods for activation section in the Administration Guide for details.
-
Click Next.
- If you have configured the credential profile to require Simple Confirmation terms and conditions, ask the cardholder to read the Terms & Conditions, select the I have read the terms and conditions option, and click Accept.
- Ask the cardholder to enter and confirm the PIN for their new card, then click Continue.
-
If you have configured the credential profile to require Explicitly Confirm or Counter Sign terms and conditions, ask the cardholder to read the Terms & Conditions, select the I have read the terms and conditions option, and click Accept.
The terms and conditions template is configured in the credential profile. For details of configuring templates, contact customer support, quoting reference SUP‑255.
-
If you have configured the credential profile to require Counter Sign terms and conditions, enter the PIN of your own operator card and click OK.
For Silent, Explicitly Confirm, and Counter Sign terms and conditions, MyID digitally signs the terms and conditions with the signing certificate on the cardholder's card. For Counter Sign terms and conditions, the terms and conditions are additionally signed with the operator's signing certificate.
If you set the Persist terms and conditions configuration option (on the Devices tab of the Operation Settings workflow) to Yes, MyID stores the terms and conditions that were signed as a binary object in the database. This is then visible in the audit report.
This Persist terms and conditions option allows you to review the terms and conditions as they stood when the cardholder accepted them, rather than the terms and conditions as they currently stand, which may be different if you have updated the text of the terms and conditions.
MyID then completes the card activation.
Note: If there is more than one credential profile version available, the version that was current when the card was collected is used.